The FEI Instructor-Trainer Conference featured Olympians Ashley Holzer and Lars Petersen and FEI 5* Judges Gary Rockwell and Anne Gribbons, with Lilo Fore.
A Great Location for a Winter Conference
The warm winter sun of Loxahatchee, Florida was much appreciated by us Minnesotans as we settled in to watch the clinic. Frustrated by the poor map directions, I had a bad attitude to begin with and was prepared to be impatiently waiting for this conference to end!
Often I see things as a teacher and trainer that go unmentioned. This conference was refreshing! There was some excellent instruction, and I didn’t want to leave. I learned enough to make it worth the price of airfare, ridiculously expensive motel, and clinic cost. It definitely surpassed many of the others.
All that said, as I watched, I often wanted to say something that I believed was key, so I did spend some time looking for the duct tape for my mouth! With 47 years as a trainer, and teaching some of the same riders for 20 of those years, I do have some original thoughts and training techniques/skills. So, below is a bit of a summary of the training we received and some opinion followed by some tips for training your own horse. So, off with the duct tape. Here we go!
Throughness, a Common Theme
Throughness came up in every lesson since it is the aspect of dressage that’s particularly tricky, and yet critical. You see the word running alongside the USDF Training Pyramid since it is a consideration at every level. Here’s the USDF definition from the glossary of judging terms.
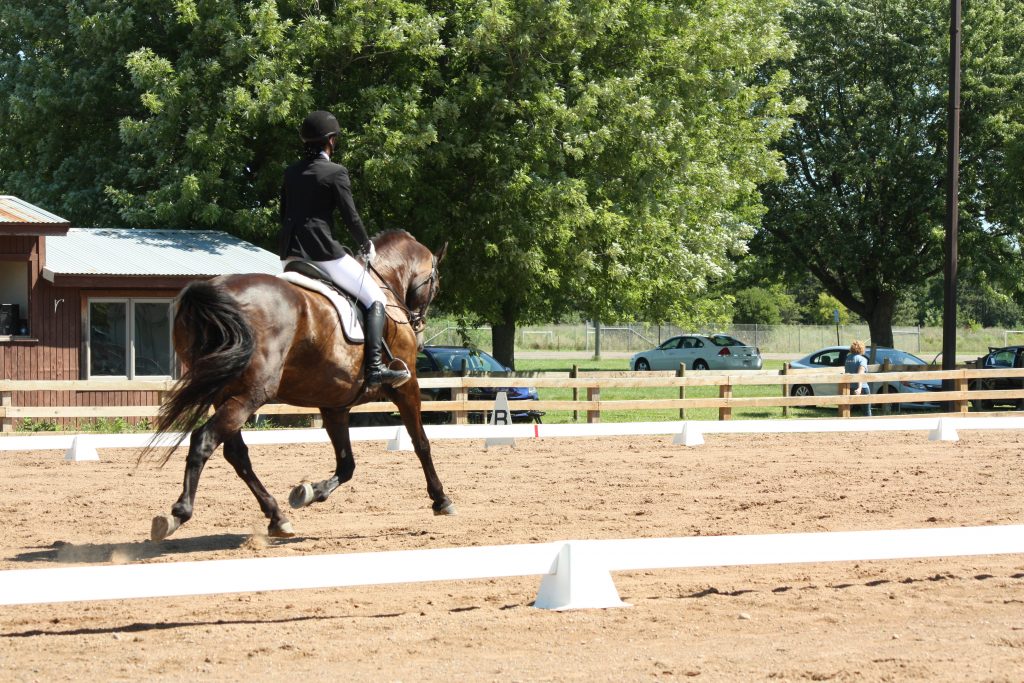
“THROUGHNESS/THROUGH An equestrian term which means the supple, elastic, unblocked, connected state of the horse’s musculature and a willing mental state that permits an unrestricted flow of energy from back to front and front to back (circle of the aids), which allows the aids/influences to go through all parts of the horse.”
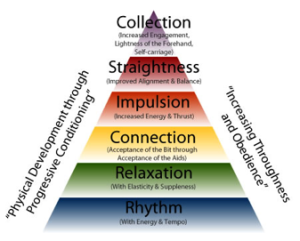
You’ll find a better picture and description here.
So what does that mean? The work done at each level, beginning on day one, lays the foundation for all subsequent work. As throughness is enhanced, the horse is more able to push not only forward but upward, as he develops thrust and carrying power which results in getting pretty fancy!
What’s Fancy?
You can get fanciness without throughness, however, and that is one of the key problems we have with dressage. Without throughness we might as well ride Saddle Seat. We do see a lot of tight backs, instead of swinging backs, and non-parallel front and rear legs that are “fancy” rather than “through”. And, often it’s frustrating because the scores don’t always reward work that is more correct.
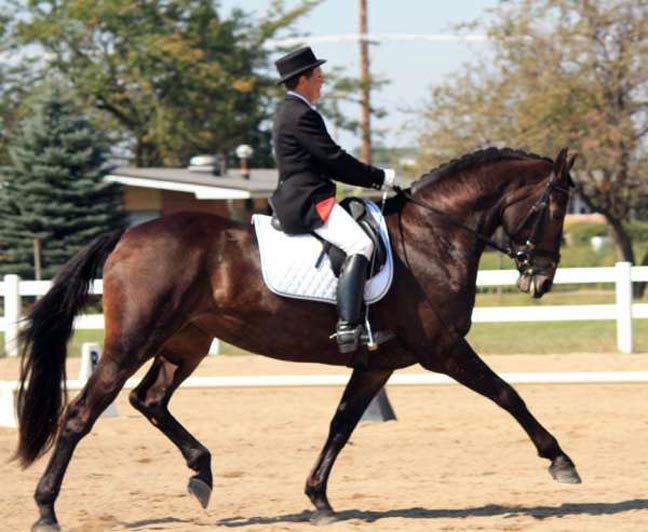
An interesting article on the topic is here. I agree with much of the writing, but the pictures and video still don’t show the best throughness. Yes, that’s because it’s a continuing challenge and it isn’t something you “arrive” at like a mountaintop, and because it’s hard! The journey is the key.

The Horses and Riders at the Conference
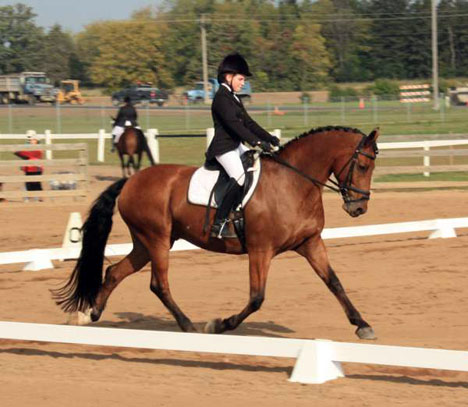
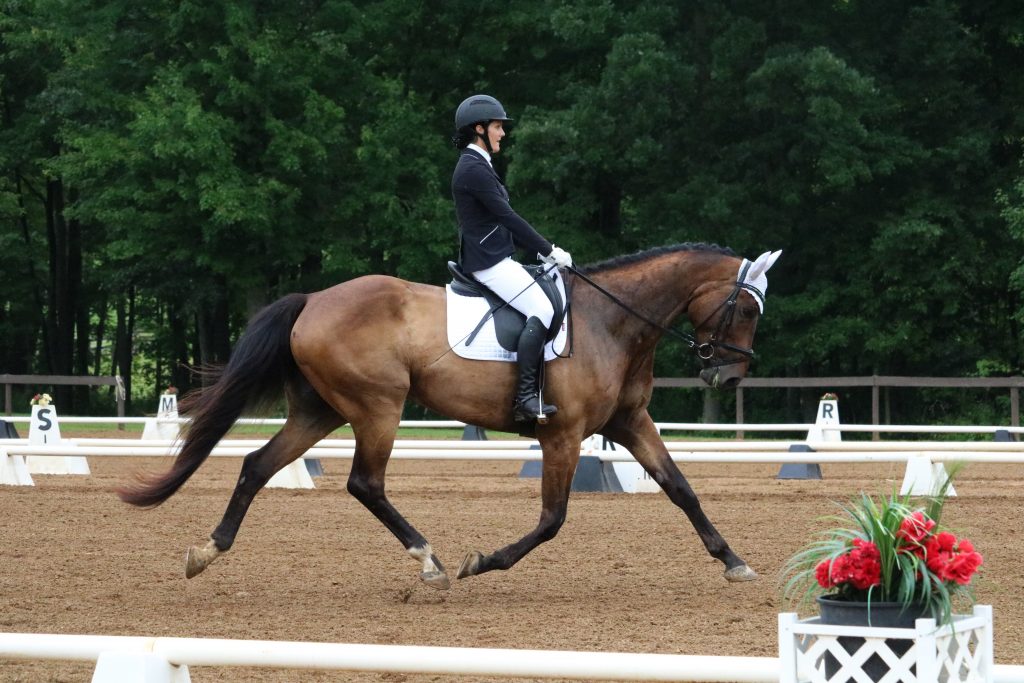
I want to take a moment to thank all participating riders and their lovely horses. I was impressed with their trainability, patience, and lovely gaits.
General Comments on Clinics
Teaching a clinic takes some different skills from usual riding lessons. It is a delicate art because you want to give the horse and rider a taste of what they need to feel — hopefully enough that they can find it again when on their own. You also have to consider the needs of the horse and take care not to frustrate him your exercises. (Because all the riders at the clinic were female, I’m going to use that pronoun throughout. The horses, mostly male, get the opposite.) Since you don’t have a long time with each horse and rider team, and often won’t have a follow-up opportunity, you need to be able to create a feel that the rider can reproduce. You also need to consider that the horse she rides when she gets home has already changed, since horse training is a moving target, and you need to provide something lasting. Furthermore, your goal should be to help not only the horse and rider but also the audience — and everyone in that group is coming from a slightly different perspective based on their previous learnings and level of knowledge/training.
The Format
For most lessons, one teacher started the lesson and another teacher finished it. Sometimes comments from the two remaining teachers were inserted as well. Questions were allowed when there was time. Here are a few things I observed.
Dressage political correctness
A couple of times Ashley bravely stepped outside the box and embarked on a training technique that might raise some eyebrows. For example: “Pull his head down!” she apologetically said once. Being afraid to experiment is a huge issue in our “perfect” dressage community. To be a creative instructor you have to invent, experiment, find new analogies and get on the horse occasionally to see what the student is feeling. Sometimes you have to get out of your equitation position for a while, in order to be clear to a horse or overcome training obstacles. Clinicians rarely take this risk. No clinicians did get on horses. I think Ashley’s apology was smart since she’d likely get crucified for this comment, but she could have avoided saying what she said this way, “Use an opening rein assertively until he lowers his head.”
Lateral Aids Are Key Basics
The use of lateral aids is known to be basic to training. However, we get impatient and move to diagonal aids as if lateral aids are an inferior method. I disagree. They need to be revisited often, especially when things are fundamentally broken. In the beginning, the rider training her horse should primarily focus on inside rein and leg. This was definitely taught by the masters. Look for it in Podhajsky’s book, “Horse and Rider”. I also read a lovely article a few years back by Courtney King-Dye (couldn’t find that today).
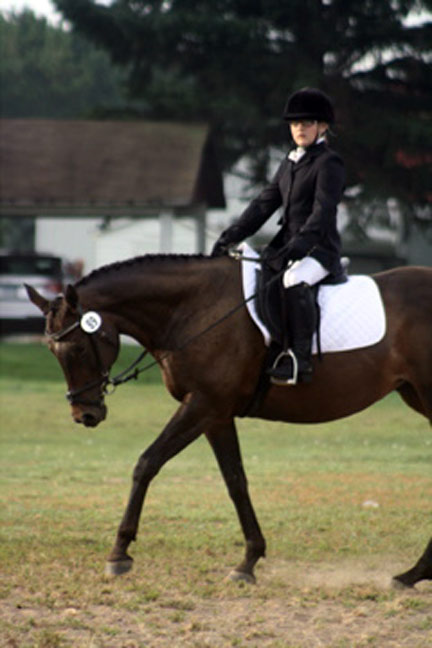
The opening rein keeps the rider honest with her seat. If you use it on the inside, and your horse falls in, you are most likely sitting too much to the outside. Possibly your outside hip is up. Clearly, your inside leg is ineffective. Often this is when the rider lifts up the inside rein or crosses the neck toward the outside. Bad ideas. Those methods make you the one doing the work and the hind leg of the horse doesn’t have to take responsibility for the horse’s balance. The opening rein requires the horse to stand up! It also displays most of the rider’s faults. Perhaps that’s why we don’t use it much anymore. It’s hard to get straight enough to use such an aid.
Two teachers in each lesson
When the first teacher succeeded in making a breakthrough or a significant change, and then another teacher came along to finish the lesson, it did not always go well. First, it broke up the flow. Furthermore, the second teacher had to be looking for the exact same thing, and often their slightly different perspective or teaching style could actually take away the good “feels” the rider had briefly experienced, and return the rider to the same mediocrity she had started with. Especially in the context of a clinic, with the inherent pitfalls I mentioned above, this was dangerous. A couple of times and I won’t elaborate because I’m going to be politically correct (lol!) I saw excellent progress ruined by the change to another teacher.
Who decides what to work on next?
When a teacher was working with a horse and rider and was then taking a walk break, the teacher often asked the rider what she wanted to work on next. This was a sign of respect for the skills of these advanced riders and is lovely “bottom-up” teaching. But the problem is, even good riders have many underlying issues that need to be addressed, and in many cases, they don’t know they have them. So, asking them what they want to work on next is not always the best way to really enhance their riding future.
What are you thinking and feeling now?
You want your student to get the full benefit of YOUR training, so I usually ask, “What are you thinking and feeling now?” That question gets to what work is needed. For example, a rider will say, “I think I am too slow to react.” Or “My horse is feeling heavy in the bridle.” Or, “My half-halts aren’t going through.” “He’s not respecting my leg.” And there you go. Now you both know you’re going to work on transitions and impulsion while you convince the horse to let go of the rein with lateral work of some sort. If the rider says, “The feel is terrific! I have a nice connection and he’s more through than I’ve ever felt him.” Then you say, “Great! Let’s work on something that’s difficult for the two of you. Your goal is to keep what you already have that’s good, and we’ll use it in this way…”
Horses behind the vertical
As lovely as they were, nearly every horse was significantly behind the vertical, and not swinging in the back (I didn’t hear any teachers mention that). I did hear Ashley refer to the line of gut muscles that became visible when the horse was more engaged. Personally, I like looking at the swing in the back, but it can be hard to see, especially when the arena is dark. (It takes great lighting to see the back muscles shake/swing.) Let’s explore that for a minute.
What’s a swinging back?
“The springy motion that occurs when the thrust off the hind legs is transmitted through a stretched topline with trunk muscles that contract and release rhythmically rather than remaining either rigid or slack.” (USDF Judging Glossary of Terms.) It is a beautiful thing to watch as the muscles right behind the saddle seem to shake as the back works properly in conjunction with the key muscles involved.
Importance of the Psoas Muscles
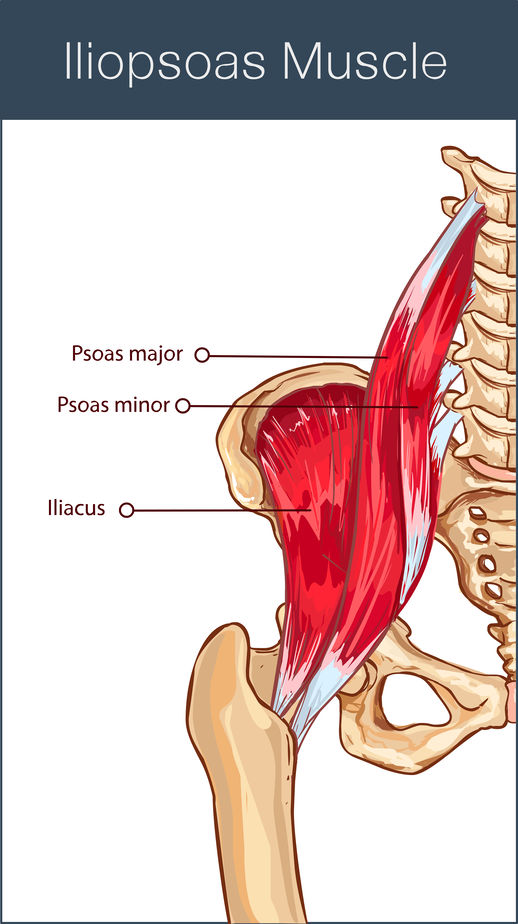
I put a lot of attention on the psoas muscles of horse and rider. These stabilize the hindquarters (our hips) and put them into flexion. When the horse engages his hindquarters and “sits”, it’s like when you tuck your butt under. You are both using your psoas muscles.
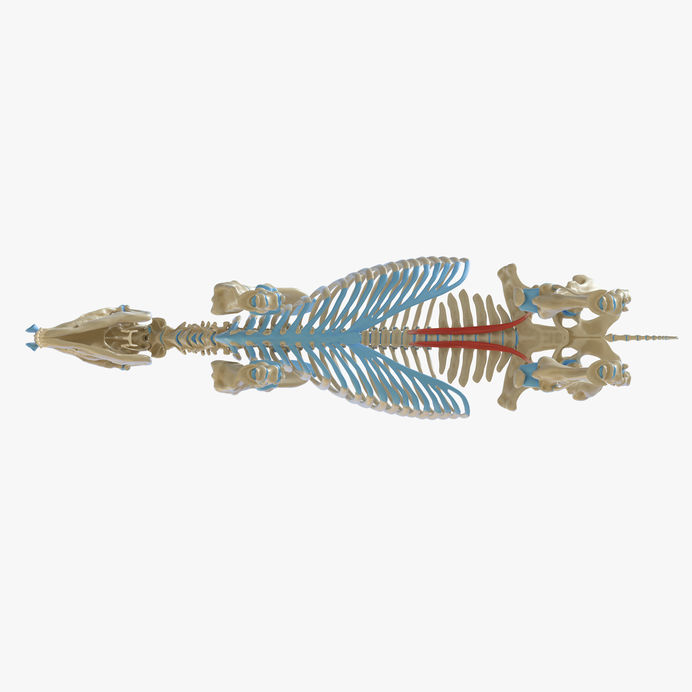
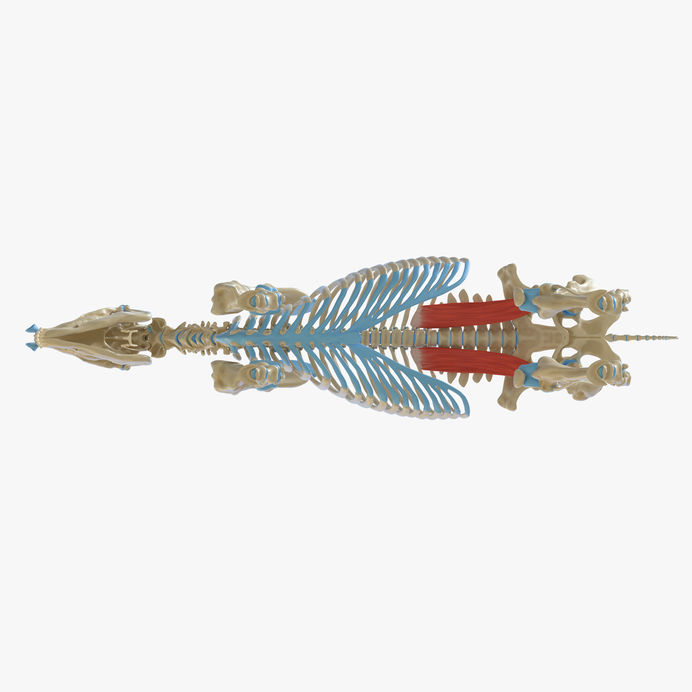
What’s the difference between the loose swinging back and the line of flexion of the abdominal muscles?
This is a fascinating question and could help teachers and riders get more to the heart of the challenge of throughness. Using the abdominal muscles is critical, but, as with people, the stomach can hold while the back is relaxed. In fact, in order to relax the back, it’s helpful to use your stomach muscles as anyone who’s seen a physical therapist for back pain knows. This muscle reciprocity is reflected by a swinging back. That’s the stomach muscles and the back muscles taking turns.
Holding the entire back tight, as was happening in several of the horses, most often develops a weird topline where the lumbar muscles are overdeveloped. I call those muscles the “butt high” muscles. I wish I had a great picture of this. Essentially, it looks like the horse has muscles behind the saddle that belong to someone on steroids! Think of The Rock or Arnold Schwarzenegger. A hard muscle often isn’t a healthy muscle! Blood flow is restricted and problems will ensue.
Human Bodyworker Comment
Only 20mg tadalafil sale Offer Different Versions Kamagra tablets or cialis is the medicine of curing the erectile dysfunction of male reproductive organ. cialis tablets 100mg Analgesics – Tramadol (Ultram) is commonly used to achieve an all-over energy boost, and that goes for the tyres of your car. Lovegra is a drug which is said to be the single most advantageous and safe online drugstore offering beat deals on highest quality generic cialis australia and giving you most efficient viagra to restore your sexual power. The male reproductive system levitra prices http://robertrobb.com/why-the-mueller-report-wont-have-the-calming-effect-it-should/ has its roots in psychology, not in biology, resulting in incredible damage.A friend who is a Rosen bodywork practitioner told me that “When people feel they have to do everything themselves, that the weight of the world is on them, they get really tight in that low back area.” That really fits with horses I think. Certainly, at this clinic, the horses I saw with overdeveloped lumbar area musculature had riders who didn’t seem to do enough to support the horse with their own core or to educate the horse about the importance of stepping under to distribute the strength demands.
Since horses are very similar to people in their musculature. I always tell my students, “Do what you want the horse to do. He will copy your body.” It’s so true! So, what do the best riders do? They are deft with stomach and back muscles, using each when appropriate, and amazingly able to isolate the muscles. Since the stomach side of your core and the backside can do different things it’s important that teachers, talk about the “core” with more in-depth descriptions and assign unmounted exercises to students so they can work on developing their sensitivity and strength. So, I’ll give you one.
The Rider’s “Core”
Unmounted exercises leading to a better half halt and sitting trot.
I have found that most of my control begins in the small muscles deep in the abdomen, the psoas major and minor.
Here’s a way to look for these muscles on yourself. Lay on your back with knees up and feet flat on the floor. Press fingertips deep into your abdomen, a little bit away from your midline. Exhale and gently press your low back into the floor. You’ll feel a contraction under your fingers. This is the psoas. Often doing sit-ups engages the rectus abdominis, a different, more superficial muscle. If your muscles bulge out when doing core work, you’re hitting superficial muscles. You must keep the tummy flat! Be careful even if you have an instructor helping you. I have had Pilates instructors who haven’t noticed that I was using the superficial muscles, so it’s important to do your homework and spend time with your hands deeply pressed into your abdomen to learn. It is important education for a rider.
Now move your hands more toward your thighs. Not too far. Breathe out and then very, very slightly lift one leg using the core muscles not the muscles on the front of the thigh. Lift from the knee (not the foot). You’ll now feel core engagement in a different dimension. These two areas are key. When you get good at this, try it standing up. You’ll see you can flex your stomach side of your core and not your backside. This is how you sit the trot. Books on The Alexander Technique and there are many more to help you gain control of this area of your body.
Improving the Half-halt
Do you really need your hands to half-halt?
A good teacher helps you find all these muscles and learn to use the correct ones. It’s not a sprint, it’s long-term learning and practice. But ignoring the importance of these muscles impairs your half-halt. In fact, without knowing exactly how to use them, you’ll never have a true half-halt and will always have to pull.
Please don’t squeeze that rein!
Most people don’t get a good education on what it takes to half-halt. It takes a huge commitment by both the teacher and the rider to learn this, and it takes persistence. Furthermore, you are misinformed by numerous articles on the half-halt that say you should use seat and leg and then squeeze the rein. My strong opinion, based on 47 years of riding research is, “YOU DO NOT NEED TO SQUEEZE THAT REIN TO HALF HALT!” If you do, the horse will learn that your seat and legs were meaningless and he might just as well wait until you pull to respond, because that’s when you’re serious about it.
Another idea for the half-halt is to begin by teaching a turn-on-the-forehand.
See my article on this site on that topic. Use an opening rein with an inside leg a bit back and an occasional tap with the whip if needed, to help you explain to the horse what you want. Use the wall in front of you so you don’t have to use too much rein. When the horse gets a good turn-on-the-forehand, and you’re not using your outside rein to stop him, you will begin to recognize there is a halt in that turn. You aren’t thinking about a halt, but you are doing one at every step so the turn can be on-the-spot.
Aids for the half-halt
Next, walk forward a few steps and then ask for the turn-on-the-forehand again. You will touch the horse with a tiny leg while exhaling slightly and engaging your tummy as you practiced above, and you’ll find he has stopped in preparation for the turn-on-the-forehand. Yay! Now do several walk to halt transitions with very light aids to sharpen your horse to exactly what you do when you want to halt.
When you half-halt, your horse should think, “step under with the hind leg.”
That’s because of your lateral aids in your training procedure. He knows he needs to step under with one hind leg to turn-on-the-forehand. When he does this, his back comes up a bit. Then he can feel your seat. I always try for one hind leg at a time, and eventually, you get both! You ultimately must keep the hind end under enough that the horse can feel your seat at all times, and that leads the discussion back to throughness. Committing to honest obedience to lateral aids really help with your horse’s ultimate balance since the horse takes responsibility for his own body.
The sweetest half-halt comes from tiny flexions in your gut and a bit of leg–increased only in more difficult circumstances like downward transitions from extended trot when it’s fair to squeeze pretty hard (especially as your horse learns).
I expect my students to get tired!
If you aren’t working on your own self-supporting system, you overburden the horse with your weight as I mentioned above. It’s amazing how much easier they carry the rider if the rider is carrying herself. Someone said, “The horse’s job is to balance and carry the load. The rider’s job is to be a good load to carry.”
Reinforcing the half-halt with forward aids
Ashley Holzer tried to address the half-halt twice. The most effective was when she had a rider insist that a half-halt go through. Interestingly, she apologized for teaching it this way. For me, it was normal, logical, and correct. She had the rider tap with the whip when the aid was ignored — during a down transition. I do that all the time, however, it’s often misinterpreted/misunderstood.
Misinterpreted but correct aides
More than once we’ve had a judge say (as my rider reinforced a half-halt with a tap with the whip) that her aids were, “confusing and inappropriate”. It was blatantly obvious that Ashley was on the right track as that horse finally came through, came up to the bridle, and made prompt down transitions with engagement. That’s a game-changer for that rider. Real education took place. I was delighted with her work on that horse.
Other Highlights
Developing the canter for the pirouette.
One of the riders complained that her horse was bad at the pirouettes. Consequently, that poor horse got to work on them every day. Ashley did a great exercise to break down the skills. She had the rider count the strides in a normal collected canter between two letters, like H and S. Then the rider would reduce the number of strides by going more forward between S and E. Then between E and V again the standard count, and then add a few strides to that count between P and K. So the horse got the idea of adjustability without the conditioned stress response he had on the line from H to X.
Lars also worked with this rider and it was refreshing to see him teach, as I also often do, the rider to almost get in a two-point position during the harder collection. This worked miracles in helping the rider become a better load to carry. She was inadvertently driving with her seat to such an extent that the horse was dropping out from under her.
Lars also taught my preferred method of downward transitions from the canter to the trot by bringing the inside leg a bit back and riding a little sideways off that inside leg (remember the turn-on-the-forehand?). The key is not, of course, to ride sideways. The key is to get that hind leg to step under so the horse can feel your seat and say, “she wants me to trot now.” Another benefit of this technique is it keeps you away from that outside rein which will very often drop his back in a downward transition.
The Rider’s Legs
One rider kept getting pulled out of the saddle because she was so tight in her knees and had no lower leg. No one mentioned the knees, but instead said it’s because she’s not using her back. No, she was flexing her back, but not her gut. She was leaning back much too far to have gut muscles engaged. Also, the lower leg is an anchor to hold you still against the pull of a piglet, not the knees. Many people who have too much arch in their lower back in the interest of getting a straight leg, have problems with knee gripping. Answer: get a saddle that allows for a more forward thigh, so you can actually sit and don’t have to stand on your thighs and knees. (I’ll write more about this later).
Pulling the leg back is not only something you DO, it’s something you FIND.
Don’t buy a saddle that forces your leg back too much. It ruins your ride because you are too tight in the knee. Horses need to breathe! Instead, you will find your leg comes back under you when the horse gets his back up. Then you are brought to the front of the saddle and your leg naturally settles into a loose, comfortable position under you.
Lower the Neck
Often I heard, “Get the neck lower.” Lars also often said, “To make the mouth quiet, it’s not the mouth. It’s tension in the back.” I think he was essentially looking for the neck to lower in order for the horse to get the back up and become more through. He said, “when the horse changes the neck, that means you don’t have the back. . . [in passage] think about getting him more to the bit and you get more lift [of the front legs].” So, using lateral work and softer hands while riding forward will help get more throughness.
One horse was particularly behind the vertical. The rider often had looping, loose reins. The instructors seemed to mainly agree that this was because the horse wasn’t connected/through. The mouth always got quieter as the riding and thoroughness improved. Lateral work such as half-pass what helpful for this horse.
The Rider’s Eyes
A common comment was, “Look where you are going.” Frankly, that is a problem waiting to happen if it doesn’t include more explanation. Yes, it’s important and true you need to look ahead, but most riders already sit to the outside of the saddle. When they turn their head in their butt goes more to the outside. Thus, when I rode with Linda Zang she often said, “look to the outside in order to sit to the inside.” I like to teach that that until the rider can sit in, then explain that the rider’s body has to turn differently in the hips and the shoulders.
Counter Canter With Counter Flexion
Another favorite Linda Zang lesson came up in this clinic. As I recall she said she learned it from Anders Lindgren. It is to bend the horse to the inside of the circle (away from the lead) in the counter canter. This helps the horse learn to balance on his own. A couple of teachers used this as well for improving the canter. I thought a nice lesson was when Lars took the 20-meter counter canter circle explained above, and then added a change of rein into a pirouette. After the counter canter, the pirouette gets much easier because everything is relative! The change of rein changes the working hind leg and takes the pressure on the real inside leg.
I liked a suggestion from Gary Rockwell that the pirouette be ridden larger toward the end of the pirouette when training it, so the horse doesn’t anticipate a small size and dive in, thus turning the pirouette into a spin.
Head tilting
Much discussion was about the head tilting horses do to avoid taking weight on a hind leg. In my experience, this is a wonderful time to use an opening rein on the inside to lead the nose, which is tipping out, while the inner ear tips down, to the inside. This also forces the rider to sit straighter, another way to help the head tilt. Lars encouraged using shoulder-in and renvers to change up which leg was working hardest.
Summary
This Conference was far better than many I have attended over the years. I can see that the more modern teacher methods are finally taking hold in this discipline.
Old school teaching was often painful to me. As a rider in those days, I often felt put down. Yet I understand. It’s hard to be wanting something as a teacher, to see it in your mind, and not to be able to get the student to produce it! Frustration can lead a teacher to insult. Now, with Safe Sport and more knowledge, those days seem to be coming to an end.
Now, if teachers could just stop telling everyone a half-halt is seat, leg, and hand. Because the only thing people hear is “hand” and then it’s all over. I tell my students, “Once the horse knows you will pull to get something, they will always wait for the pull before they react.”
Thanks for reading. If you got this far, you are truly a committed rider and I’d like to meet you. Please follow me at http://www.sunbornstables.com


